
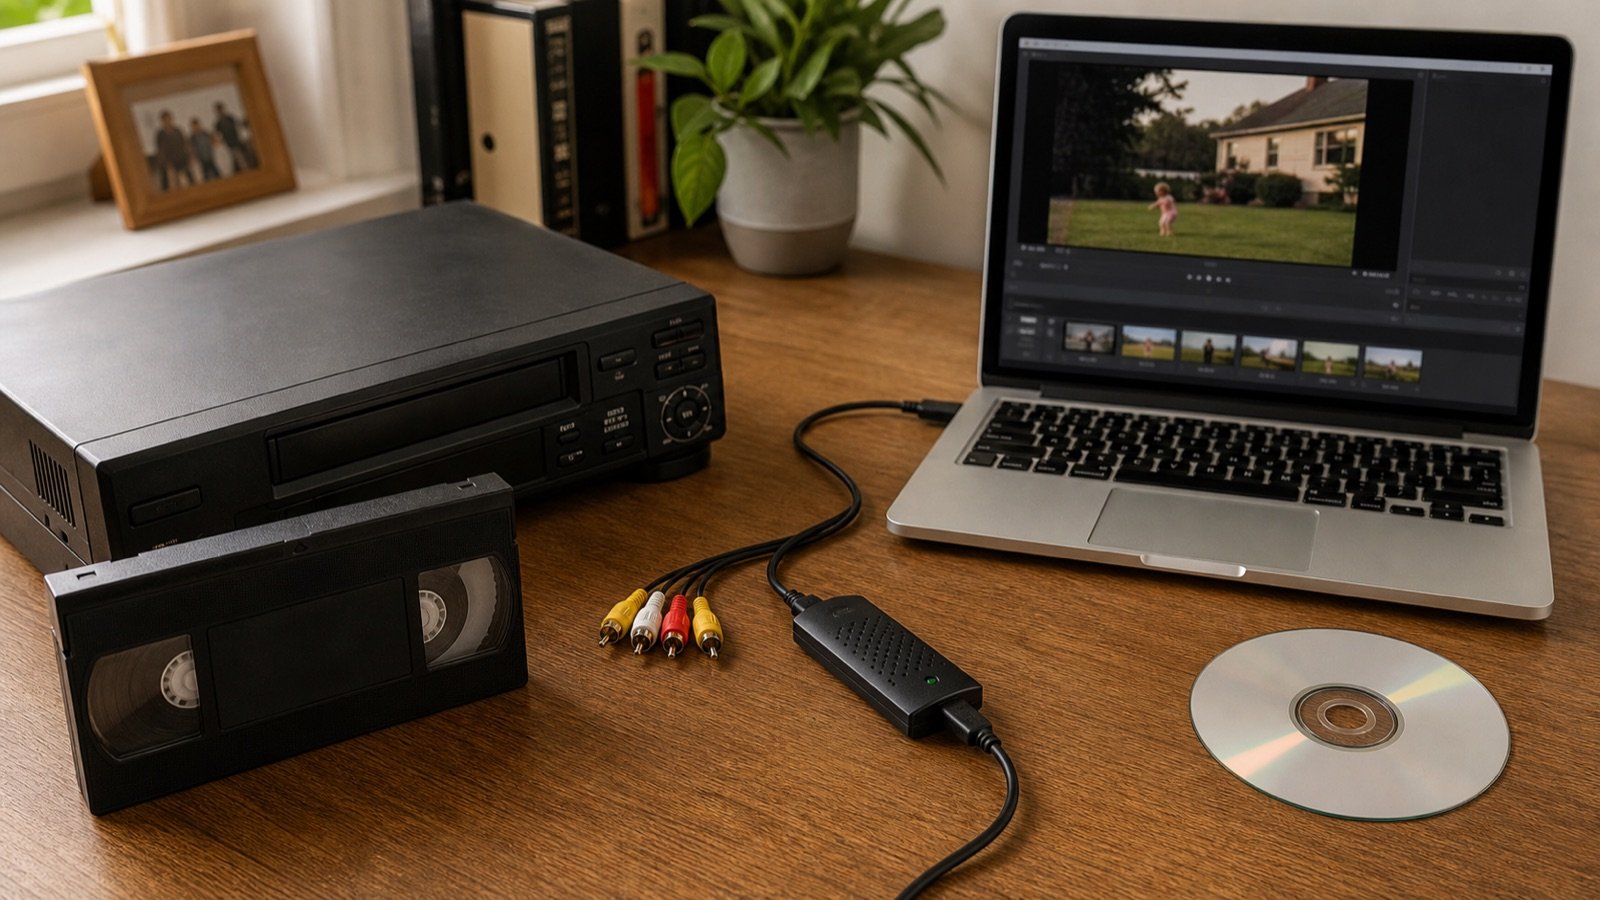
Old VHS tapes often hold the only surviving copy of family events, school performances and everyday moments that were never recorded anywhere else. The tapes and the machines needed to play them are aging, so waiting can make recovery harder and more expensive.
The safest approach is to digitize VHS into a high-quality computer file, make at least two backups and create a DVD only as a convenient viewing copy. A DVD is useful for playback, but it should not be the only preservation copy.
Why VHS tapes should be digitized now
VHS stores pictures and sound on magnetic tape. Heat, humidity, dust, mold, repeated playback and mechanical stress can all damage that recording. Working VCRs are also becoming harder to find and maintain.
The US National Archives’ guidance on machine-readable media describes magnetic audio and video media as among the least stable formats in archival collections. It recommends reformatting important tapes and limiting playback of the originals.
Digitization cannot restore detail that was never recorded, but a careful transfer can preserve the signal that remains. It also makes footage easier to watch, organize, share and back up.
VHS to DVD or VHS to digital file?
These are not mutually exclusive choices. A strong preservation workflow creates two kinds of copy:
- Preservation master: the best practical digital capture, kept with minimal additional compression and editing.
- Access copy: a smaller MP4 file or authored DVD intended for convenient viewing.
The National Archives’ playback and digitization guidance recommends asking for both a preservation copy and an access copy. It also warns that optical discs present long-term preservation challenges. A DVD can therefore be part of the package, but the digital master and its backups are more important.
Check the tapes before playback
Inspect each cassette in good light. Do not play a tape that has visible mold, white deposits, a broken shell, loose tape or a strong musty odor. A damaged tape can contaminate the VCR and may suffer additional harm during playback.
Label every cassette with a unique number before starting. Record any handwritten title, estimated date and known people or events. This simple inventory prevents confusion once dozens of similar digital files appear on the computer.
Until transfer, store tapes vertically in their cases, away from sunlight, damp areas and strong magnetic fields. The National Archives’ video storage recommendations advise stable, cool and relatively dry conditions rather than attics, garages or flood-prone floors.
Equipment needed for a home transfer
- A well-maintained VHS VCR compatible with the tape’s recording standard.
- A USB or internal analog-video capture device.
- Composite RCA or S-Video cables, plus the appropriate audio cables.
- A computer with enough free storage for real-time video capture.
- Capture software that can display audio levels and preserve the original frame shape.
- Optional DVD-authoring software and a DVD writer for access discs.
The quality of the VCR and capture device matters. Very cheap adapters can introduce unstable color, dropped frames or audio synchronization problems. Before transferring an irreplaceable tape, test the complete setup with an ordinary recording.
How to convert VHS to a digital file
1. Prepare the playback equipment
Confirm that the VCR loads, plays, rewinds and ejects correctly. Clean and service questionable equipment before inserting a unique tape. Connect the VCR’s video and audio outputs to the capture device, then connect the device to the computer.
2. Configure the capture software
Select the correct regional video standard and preserve the source’s 4:3 aspect ratio unless the recording was genuinely widescreen. Capture the original stereo or mono audio without pushing levels into distortion. Avoid aggressive sharpening, noise reduction and automatic cropping during the first capture; edits can be made later on a copy.
3. Capture in real time
A two-hour tape normally takes two hours to capture. Watch the opening minutes for rolling pictures, clipped audio, dropped frames or an incorrect aspect ratio. Stop if the tape squeals, sticks or sheds material.
4. Review the complete file
Do not assume a completed progress bar means the transfer is good. Check the beginning, middle and end, then spot-check scene changes and quiet sections. Confirm that audio remains synchronized and that no portion is missing.
5. Create viewing copies
Keep the master unchanged. Make a separate MP4 for phones, televisions and sharing. If family members still use DVD players, author a DVD with simple menus and test it in more than one player before relying on it.
File names, notes and organization
Use consistent names such as VHS-004_1996-family-picnic_master. Keep a spreadsheet or text file that connects each cassette number to its filename, date, people, location and transfer notes. This metadata makes a family archive searchable and reduces the risk of accidental deletion.
Digital organization is part of preservation. The broader appeal of well-described archives is explored in Zobuz’s article on digital nostalgia and accessible collections; the same principle applies to family recordings that future relatives must be able to identify.
Back up the transfer properly
A file on one computer is not preserved. Keep at least two copies on separate storage devices, with one copy in another physical location or a reputable cloud service. Check the files periodically and move them to new storage before a drive, disc or service becomes obsolete.
Do not discard the original tapes immediately. Retain them until the captures, backups and access copies have been checked. Important originals may be worth keeping even longer in case better transfer equipment becomes available.
When to hire a professional service
Professional transfer is the safer choice when tapes are moldy, damaged, extremely valuable, recorded in an unfamiliar standard or impossible to play reliably. It also makes sense for a large collection when buying and maintaining equipment would cost more than outsourcing.
Ask a provider which VCRs and capture hardware it uses, whether it cleans or repairs tapes, what master and access formats it delivers, how originals are tracked and insured, and whether any work is subcontracted. Request a small test transfer before committing an entire collection.
Common mistakes to avoid
- Playing a visibly contaminated or damaged tape.
- Using an untested VCR for an irreplaceable recording.
- Stretching 4:3 footage to fill a widescreen frame.
- Applying permanent filters during the only capture.
- Keeping only a highly compressed MP4 or a single DVD.
- Failing to review the full transfer for dropped sections.
- Using vague filenames such as
video1-final-new.mp4. - Discarding the tape before verifying multiple backups.
Frequently asked questions
Does converting VHS improve picture quality?
Digitization preserves the signal available on the tape; it does not create missing detail. Better playback equipment and careful correction can stabilize or clean up the presentation, but the original recording remains the quality ceiling.
Is DVD an archival format?
No single DVD should be treated as an archive. Recordable discs can deteriorate, scratch and become difficult to read as optical drives disappear. Use DVDs as access copies and retain verified digital masters on redundant storage.
How much storage does VHS capture require?
It depends on the codec and bitrate. A lightly compressed or lossless master can be many times larger than a viewing MP4. Check available space before starting and leave room for the master, edited copies and backups.
Can commercial movies be copied?
Copyright and copy-protection rules vary by location and purpose. Home movies you created are different from commercially released films. Seek legal guidance before bypassing copy protection or reproducing material you do not own.
The practical takeaway
The goal is not merely to move a VHS recording onto a shiny disc. It is to rescue the best available signal, preserve a dependable master and make convenient copies that family members can actually watch. Inventory the tapes, use trustworthy equipment, review every transfer and maintain more than one backup.