Screen recording on a Mac can be incredibly useful for tutorials, presentations, or capturing important moments. However, many users find it challenging to stop the recording once it starts. This can lead to unintentionally long videos and wasted storage space1.
I’ve personally experienced the frustration of not knowing how to end a recording efficiently. That’s why I’m sharing my step-by-step insights to help you navigate this process with ease. Whether you’re using built-in tools like QuickTime Player or exploring third-party apps, there are multiple methods to stop a recording effectively1.
QuickTime Player, a default app on Mac, is a popular choice for screen recording. However, it lacks a clear “stop” button, which can confuse users. Keyboard shortcuts like “Ctrl + Command + Esc” or the Touch Bar’s red stop button can simplify the process1.
For those seeking more advanced features, apps like Zight offer a user-friendly interface and automatic saving options. Knowing these methods ensures you can stop a recording confidently, whether you’re a beginner or an experienced user1.
Key Takeaways
- QuickTime Player is a common tool but lacks a clear stop button.
- Keyboard shortcuts like “Ctrl + Command + Esc” can end recordings instantly.
- The Touch Bar provides a visual stop button for Macs equipped with it.
- Third-party apps like Zight offer automatic saving and additional features.
- Understanding multiple methods ensures smooth screen recording experiences.
Introduction
Capturing your screen on a Mac is a powerful way to share ideas or save important moments. Whether you’re creating tutorials, documenting workflows, or recording presentations, it’s essential to know how to manage the process effectively. However, many users face challenges when it’s time to end a recording, leading to confusion or wasted storage space2.
Built-in tools like QuickTime Player offer straightforward functionality, but they can sometimes feel non-intuitive. For instance, the lack of a clear stop button often leaves users searching for solutions. This guide will walk you through every step, ensuring your recordings are saved correctly and efficiently3.
When starting a new screen recording, it’s crucial to consider factors like audio quality. Choosing the right microphone can make a significant difference in the final output. QuickTime Player allows you to select from built-in or external microphones, ensuring your audio matches the clarity of your video2.
Here’s a quick comparison of recording quality options in QuickTime Player:
| Quality | Video Format | Audio Format |
|---|---|---|
| High | H.264 | 44100 Hz AAC |
| Maximum | Apple ProRes 422 | Linear PCM |
Understanding these settings ensures your recordings are optimized for both quality and storage efficiency. By following this guide, you’ll gain confidence in managing your screen recordings, whether you’re a beginner or an experienced user3.
Understanding Built-In Screen Recording Tools
Mac users have access to powerful built-in tools for capturing their displays. These tools are designed to simplify the process, making it accessible for both beginners and experienced users. Whether you’re creating tutorials or documenting workflows, these features ensure a smooth experience4.
QuickTime Player Overview
QuickTime Player is a default application on every Mac, offering a straightforward way to record your screen. To start, open the app from the Applications folder and select “New Screen Recording” from the menu. This action activates the record button, which is essential for initiating the process5.
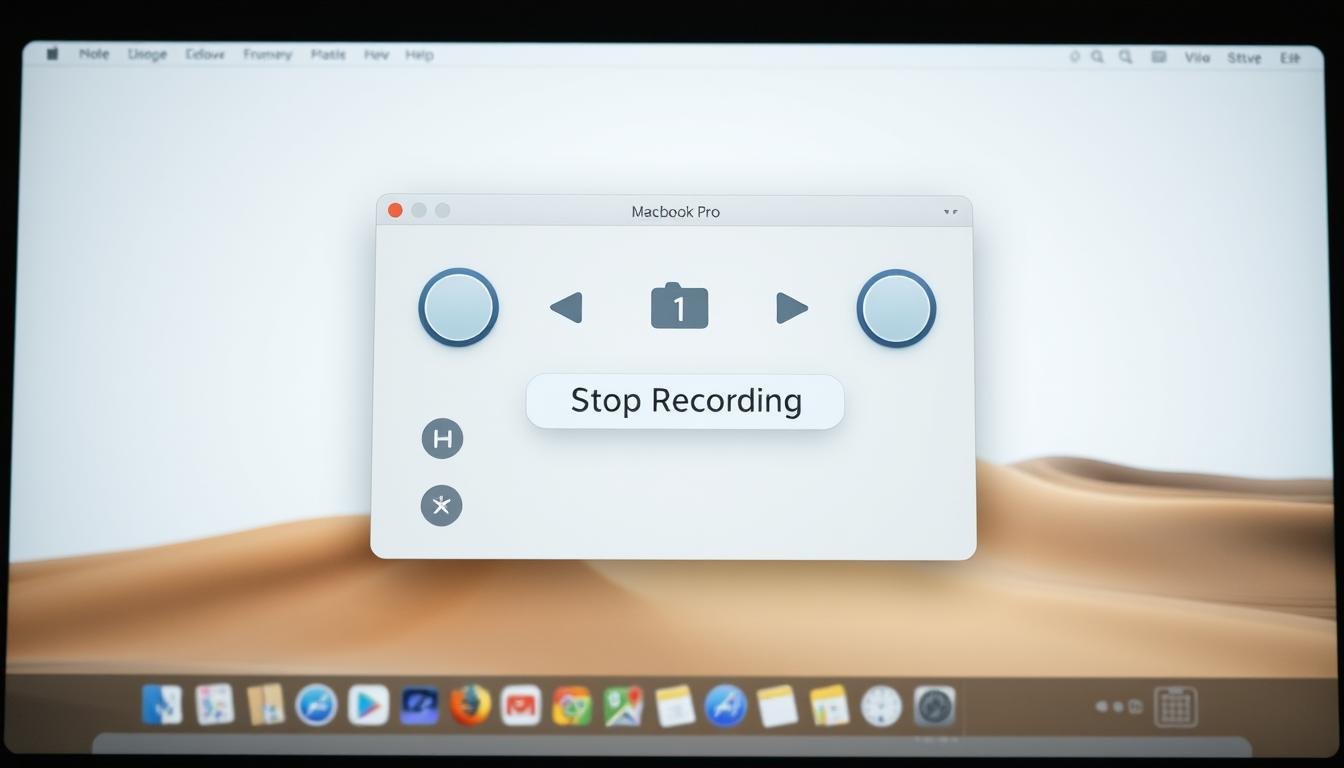
Once recording begins, additional options appear in the menu, including audio settings and cursor visibility. The visible stop button in the toolbar ensures you can halt the recording effortlessly. QuickTime Player’s simplicity makes it a go-to choice for many users6.
Using the Screenshot Toolbar
Introduced in macOS Mojave, the Screenshot Toolbar provides flexible recording options. Press Command + Shift + 5 to open it, and choose between recording the entire screen or a specific portion. This tool also allows you to set a timer delay, giving you time to prepare before the capture begins4.
The floating thumbnail feature lets you interact with the completed recording before it’s saved. This functionality enhances user control, ensuring you only keep the footage you need5.
“The Screenshot Toolbar is a game-changer for Mac users, offering intuitive controls and flexibility.”
| Feature | QuickTime Player | Screenshot Toolbar |
|---|---|---|
| Accessibility | Pre-installed on all Macs | Requires macOS Mojave or later |
| Recording Options | Entire screen | Entire screen or specific portion |
| Timer Delay | No | Yes |
Both tools integrate seamlessly with macOS, requiring minimal interaction with the control and menu systems. Whether you prefer QuickTime Player’s simplicity or the Screenshot Toolbar’s advanced features, these built-in options cater to diverse needs6.
how to stop screen recording on mac
Ending a screen capture session on a Mac doesn’t have to be complicated. Whether you’re using QuickTime Player or another tool, there are straightforward methods to halt the process efficiently. I’ve found that understanding these options saves time and ensures your files are saved correctly.
Using Keyboard Shortcuts
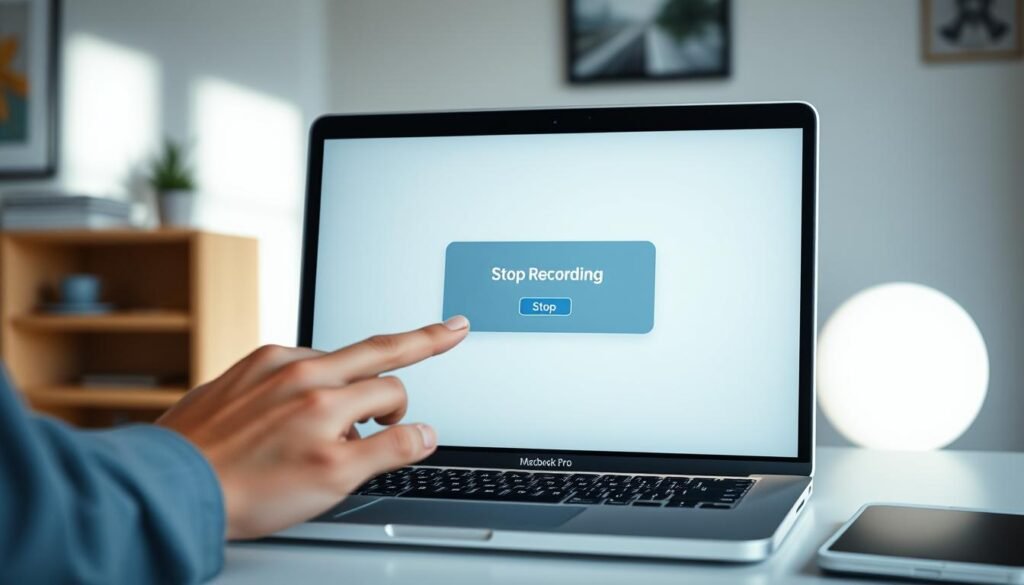
One of the quickest ways to end a session is by using keyboard shortcuts. Pressing Command + Control + Esc instantly stops the capture. This method is especially useful when you need to halt the process immediately without navigating menus7.
I’ve personally relied on this shortcut during fast-paced tasks. It’s a reliable step that ensures your file is saved without delay. This approach works seamlessly with QuickTime Player and other tools designed for Mac users8.
QuickTime’s Stop Button
If you prefer a visual method, the Stop button in QuickTime Player is another excellent option. Located in the menu bar at the top right of the screen, this button allows you to end the session with a single click7.
This method is ideal if you plan to edit or trim the recording afterward. It’s a straightforward step that ensures your file is ready for further adjustments. For more advanced features, consider exploring tools like Movavi Screen Recorder, which offers intuitive controls and additional functionality.
Both methods are effective, but choosing the right one depends on your workflow. Whether you prefer hotkeys or visual buttons, these steps ensure your screen capture sessions end smoothly and efficiently.
Advanced Methods to Halt Screen Recording
Sometimes, traditional methods for ending a recording session may not work as expected. When this happens, advanced techniques can help you regain control and save your work efficiently. Below, I’ll explore three reliable approaches to handle unresponsive recordings.
Force Quitting QuickTime Player
If QuickTime Player becomes unresponsive, force quitting is a viable option. To do this, click the Apple menu in the top-left corner and select “Force Quit.” Choose QuickTime Player from the list and click “Force Quit.” This method instantly stops the process, but be cautious—it may lead to potential data loss or corruption9.
Using Activity Monitor
Another effective way to halt an unresponsive recording is through Activity Monitor. Open it from the Applications folder, locate the QuickTime process, and click “Quit Process.” This step ensures the software is fully closed, allowing you to restart your session without issues9.
Third-Party Tools and Their Benefits
When built-in tools fall short, third-party software like Movavi Screen Recorder can be a game-changer. These tools offer robust controls, such as setting a stop time or recording length, ensuring smoother sessions9. For example, Movavi allows users to save videos in multiple formats, providing flexibility in file management10.
“Third-party tools like Movavi Screen Recorder enhance the recording experience with advanced features and reliability.”
Exploring alternatives like streameast alternatives can also broaden your options, offering unique features tailored to your needs. Whether you’re using built-in tools or third-party software, these advanced methods ensure your recordings are handled efficiently.
Tips for Optimizing Your Screen Recording Setup
Optimizing your setup ensures high-quality results every time. A clean desktop and proper settings can make a significant difference in your final output. By focusing on preparation, you can create professional-looking recordings with ease11.
Adjusting Settings for Better Quality
Start by cleaning up your desktop to avoid clutter. This step ensures that only necessary content is captured. Next, adjust the resolution to match your needs. Higher settings like H.264 or Apple ProRes 422 deliver crisp visuals but require more storage11.
Selecting the right recording area is equally important. Tools like FocuSee allow you to choose between full screen, window, or custom areas, ensuring flexibility11. Properly managing audio input is also crucial. Ensure your microphone is set up correctly for clear sound quality12.
Editing and Sharing Your Recordings
Once your recording is complete, editing is the next step. Use built-in tools or third-party software like FocuSee for trimming, adjusting playback speed, and emphasizing specific areas11. These features save time and enhance the final product.
Label your files clearly for easy access. Exporting in multiple formats, such as MP4 or MOV, ensures compatibility across devices12. Sharing your work is simple with platforms like YouTube or cloud storage services. Following these tips not only improves video quality but also enhances the overall user experience11.
| Feature | QuickTime Player | FocuSee |
|---|---|---|
| Recording Modes | Full Screen | Full Screen, Window, Custom Area |
| Editing Tools | Basic Trimming | Trimming, Speed Adjustment, Emphasis |
| Audio Management | Built-in Microphone | External Microphone Support |
Conclusion
Mastering the process of ending a capture session on a Mac ensures efficiency and professionalism. Whether using the built-in player like QuickTime or advanced tools, knowing how to stop the process is essential. Keyboard shortcuts like Command + Control + Esc offer a quick solution, while the visual Stop button provides a user-friendly alternative13.
If your application becomes unresponsive, troubleshooting tips like force quitting or using Activity Monitor can save your work. My personal experience confirms the reliability of these methods, ensuring smooth and professional results every time14.
For those seeking more control, exploring third-party tools can enhance your setup. Just like optimizing brewing methods, refining your recording process leads to better outcomes. Try these techniques and enjoy a seamless experience.
FAQ
What is the easiest way to halt a screen recording on my Mac?
The simplest method is using the Stop button in QuickTime Player or pressing Command + Control + Esc to end the recording instantly.
Can I stop a screen recording without using QuickTime Player?
Yes, you can use the Screenshot Toolbar by clicking the Stop Recording button or force quit the application via Activity Monitor if needed.
Are there third-party tools to manage screen recordings on Mac?
Absolutely! Tools like OBS Studio or Camtasia offer advanced features, including easier stopping, editing, and sharing options.
How do I ensure my screen recordings are high quality?
Adjust settings like resolution and frame rate in QuickTime or third-party apps. Also, ensure your microphone and audio settings are optimized for clear sound.
What should I do if my screen recording freezes or won’t stop?
Use Force Quit (Command + Option + Esc) to close the app or terminate the process in Activity Monitor to resolve the issue.
Can I edit my screen recordings after stopping them?
Yes, QuickTime Player allows basic editing, or you can use advanced software like iMovie or Final Cut Pro for more detailed adjustments.
Source Links
- How to Stop Screen Recording on Mac in 6 Easy Ways
- Record a movie in QuickTime Player on Mac
- How to Start and Stop Screen Record on Mac [Step by Step]
- Take screenshots or screen recordings on Mac
- How to Screen Record on a Mac with Audio (The Complete Guide)
- Stop QuickTime Screen Recording
- How to Stop Screen Recording on Mac
- Stop QuickTime Screen Recording
- How to Stop Screen Recording on Mac When Using QuickTime
- Stop QuickTime Screen Recording
- How to Stop Screen Recording on Mac? A Detailed Guide!
- How to Stop Screen Recording on Mac with QuickTime✅
- Stop QuickTime Screen Recording
- How to Start and Stop Screen Recording on a Mac – Computer Repair | TickTockTech